Configuring and Using Public Notification Instant Apps
- Megan Ouderkirk

- Oct 30, 2024
- 2 min read
Updated: Jun 20
The Public Notification Instant App allows users to select features and export them in a CSV or PDF file. This app can quickly export addresses or contact information used to notify residents or property owners of upcoming projects or policy changes. Whether you need to contact all the property owners in a subdivision, or all the residents within a certain distance of a water main, this app has you covered. In this blog, we will demonstrate how to build a Public Notification Instant App and highlight some of the functions and settings.
Public Notification Instant App Setup
To begin, go to the overview page for the web map you want to use in your Instant App. Then click Create Web App > Instant Apps > Choose Public Notification. In your web map, you may want to include layers such as addresses, parcels, and owners. You may also include neighborhood, subdivision, or municipal boundary layers. (If a web map with the features you need does not exist, you may need to create one or contact someone who can.)

When the configuration page loads, it will be in Express mode. This mode breaks down the setup into 5 Steps.

Step 1 should already be populated with the map you selected to create the app.
Step 2 reminds you to set a title and description
Step 3 selects the layers whose features will be exported into a PDF or CSV.
Example: Owners, Residents, etc.
Step 4 gives you the option to add sources that will be used to select the features in your PDF or CSV.
Examples: Parcels, Subdivisions, Roads, Water Mains
Alternatively, you can sketch points, lines, or polygons to select the input layers manually. The app also comes preconfigured with an option to add a buffer to your sketches. This can be helpful in a scenario where you need to notify all residents within a certain distance, such as residents within two miles of a road closure.
Finally, Step 5 polishes the app with themes and preset widgets.
On the right side of the screen, you can verify your settings and determine if you need to adjust any of the layer options.
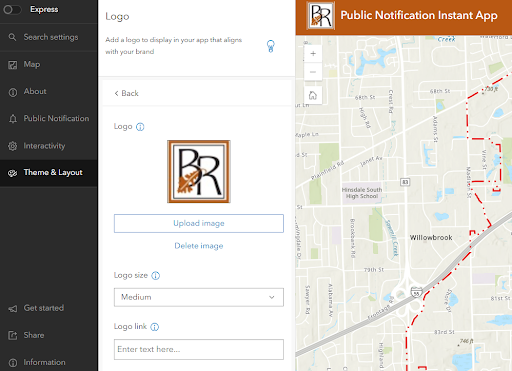
Once configured using the steps, you can turn off Express Mode if you wish to further adjust the layout or settings. For example, if you want to add a logo to the header, click the Theme & Layout tab > Logo.

When everything is configured, remember to click Publish and update any sharing settings so that others can use your new Public Notification Instant App.